All you need to know about Agentforce 3.0
Discover how Agentforce 3.0 brings enterprise-grade visibility, control, and integration to Salesforce AI agents—built for scale, not just experimentation.

Discover how Agentforce 3.0 brings enterprise-grade visibility, control, and integration to Salesforce AI agents—built for scale, not just experimentation.
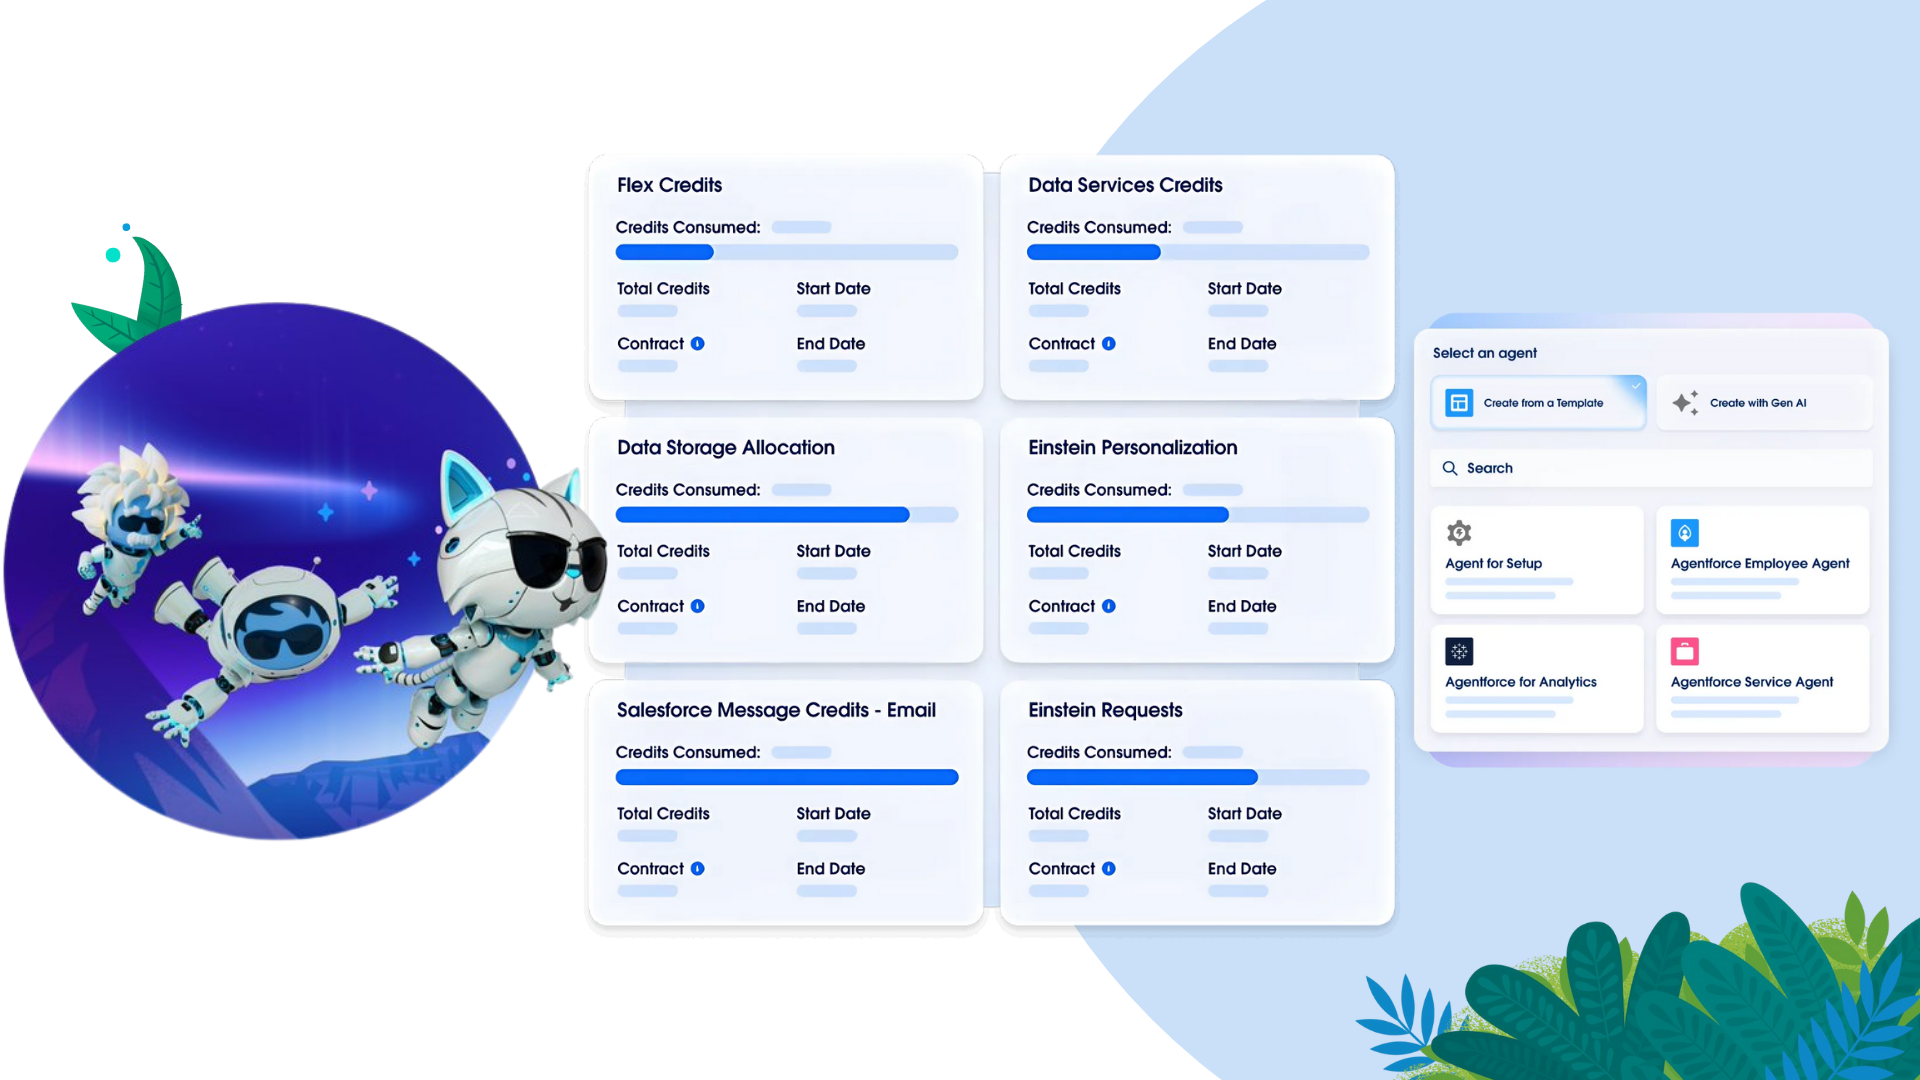
Explore Flexible Agentforce Pricing that scales with your AI goals — and see how Areya helps implement smart, cost-effective digital labor solutions.

Discover how Pixelstreamer Studios used Agentforce to transform media sales with AI-driven insights, smart RFPs, and real-time account intelligence.
Discover Agentforce 2dx—Salesforce’s smartest automation yet. Dynamic reasoning, richer experiences, and real-world impact across every workflow.